Introduction
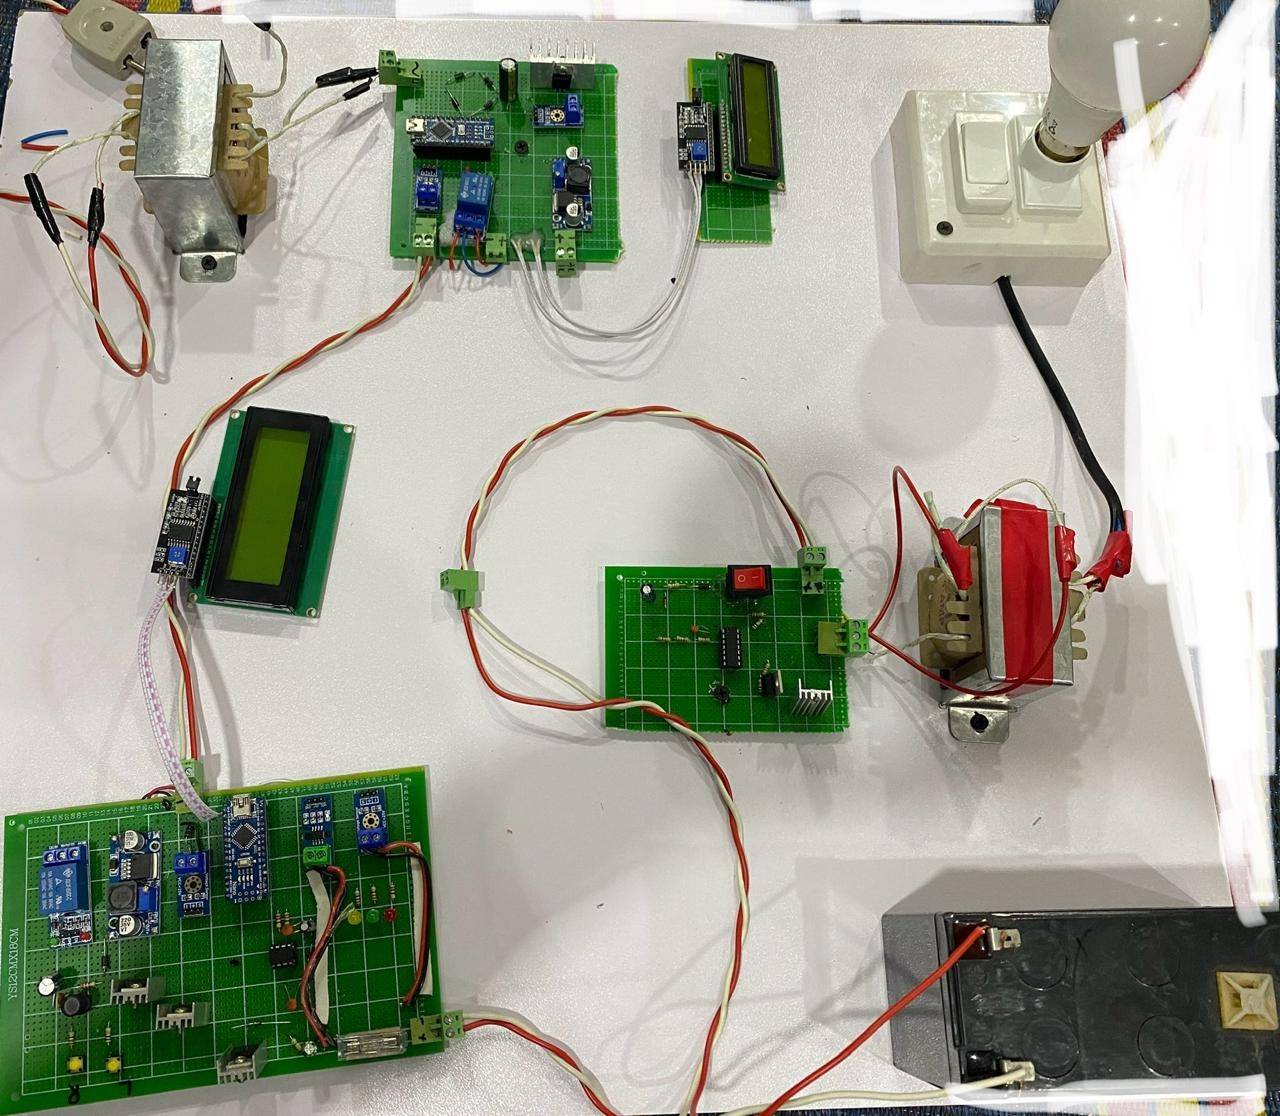
Inverters play a crucial role in converting direct current (DC) to alternating current (AC), making them essential for various applications, from renewable energy systems to backup power supplies. This blog post will guide you through designing and building a DC to AC inverter using an Arduino Nano, buck converter, transformer, LCD, relay, diodes, current sensor, voltage sensor, and an I2C module. This project combines the precision of Arduino control with the power of modern electronics to create an efficient and reliable inverter.
Components Used
1. Arduino Nano The brain of the inverter, handling control logic and data processing.
2. Buck Converter Steps down the DC voltage to a desired level before inversion.
3. Transformer Converts the low voltage AC to a higher voltage AC.
4. LCD Display Provides real-time feedback on the inverter’s operating parameters.
5. Relay Switches between different circuit states.
6. Diodes Ensure current flows in the correct direction and protect against voltage spikes.
7. Current Sensor Measures the current output of the inverter.
8. Voltage Sensor Monitors the voltage levels to ensure they remain within desired ranges.
9. I2C Module Facilitates communication between the Arduino and the LCD display.
System Operation
1. DC to DC Conversion The buck converter steps down the input DC voltage to a level suitable for the inverter circuitry.
2. Signal Generation The Arduino Nano generates pulse-width modulation (PWM) signals to drive the inverter’s switching elements.
3. Inversion Process These PWM signals control the switching of transistors, converting DC to low voltage AC.
4. Voltage Transformation The transformer steps up the low voltage AC to the required high voltage AC.
5. Monitoring and Feedback Current and voltage sensors continuously monitor the output, providing data to the Arduino for real-time adjustments.
6. Display and Alerts The LCD, via the I2C module, displays important parameters like voltage, current, and system status. The relay can switch the system on/off or change modes based on Arduino commands.

Key Features
1. Real-Time Monitoring Continuous feedback from voltage and current sensors ensures optimal performance.
2. User-Friendly Interface The LCD display provides clear and immediate information about the inverter’s status.
3. High Efficiency The buck converter ensures efficient voltage regulation, minimizing power losses.
4. Safety and Reliability Diodes and relay mechanisms enhance system safety and operational reliability.
5. Scalability The system can be easily scaled up with additional features and sensors as needed.
Benefits
- Energy Efficiency Optimized power conversion and minimal energy loss.
- Cost-Effective Utilizes readily available and affordable components.
- Customizable Easily modified for various power requirements and applications.
- Enhanced Safety Real-time monitoring and protective components reduce the risk of failures.
Step-by-Step Guide
1. Component Assembly Begin by assembling the buck converter, transformer, and Arduino Nano on a suitable platform.
2. Circuit Connection Connect the Arduino Nano to the current and voltage sensors, relay, and I2C module. Ensure all connections are secure and correct.
3. Programming the Arduino Write the code to generate PWM signals, read sensor data, and control the relay. Upload the code to the Arduino Nano.
4. Testing Power up the system and observe the LCD display for real-time data. Verify the DC to AC conversion using appropriate measuring instruments.
5. Optimization Adjust the PWM parameters and monitor sensor feedback to optimize performance.
Conclusion
Building a DC to AC inverter using Arduino Nano, buck converter, and other components offers a versatile and efficient solution for various power conversion needs. By integrating real-time monitoring and control, this project not only enhances functionality but also ensures reliability and safety. Whether for renewable energy systems, backup power supplies, or educational purposes, this inverter design is a valuable addition to any electronics toolkit.