Introduction
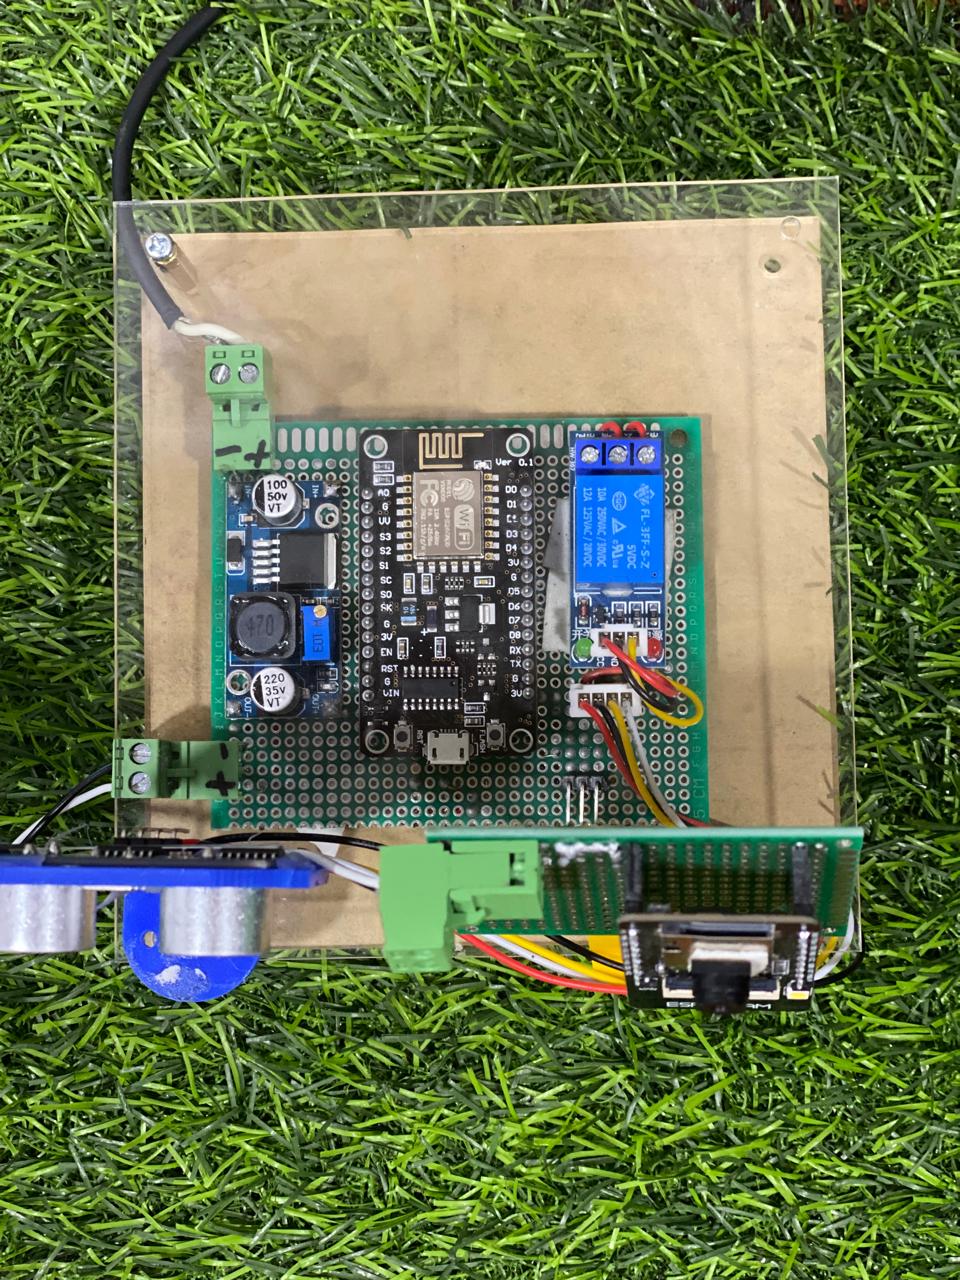
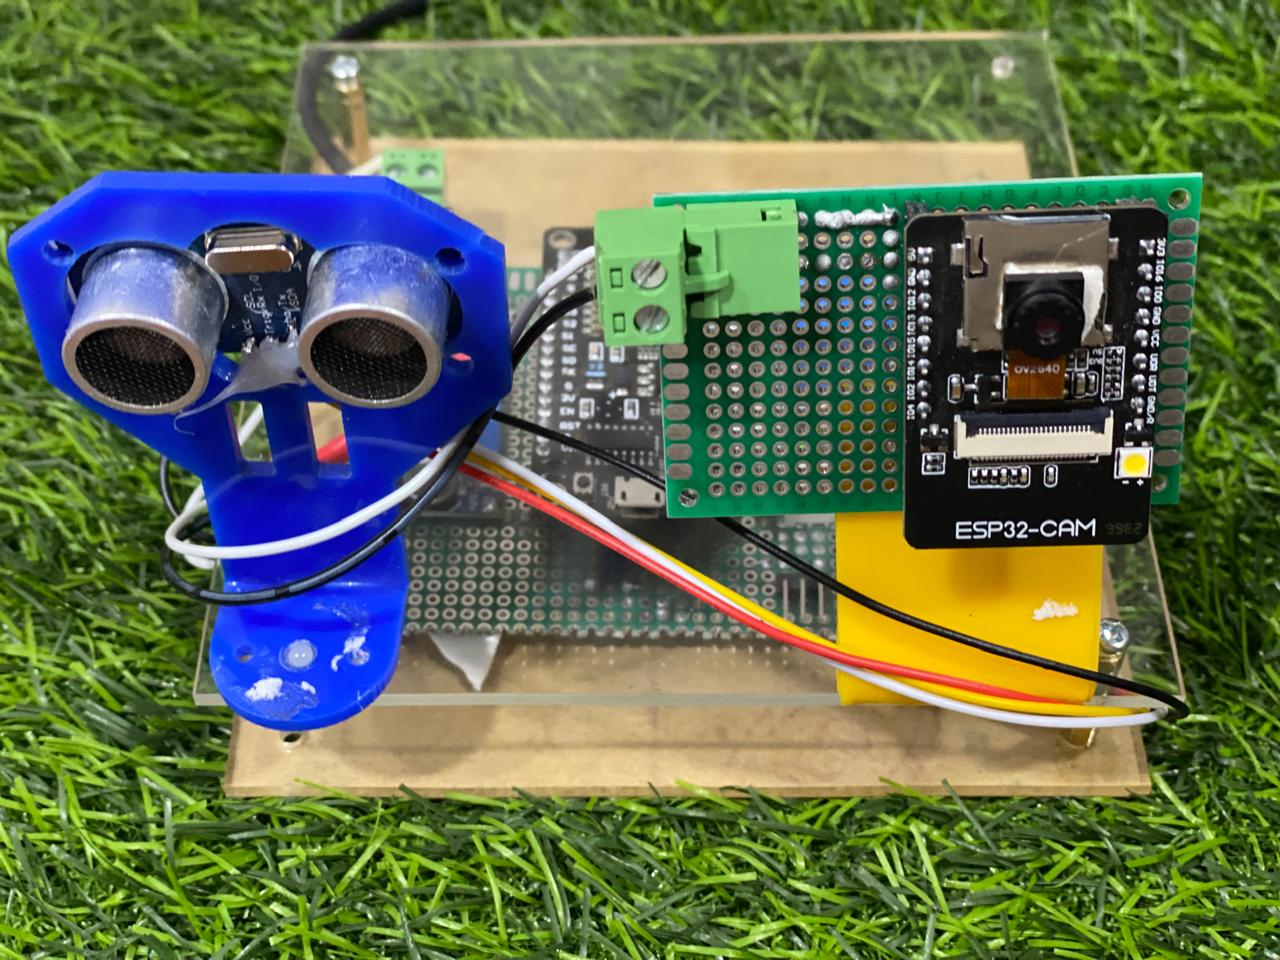
In an era where security is paramount, having a reliable and efficient security system is essential. A camera security system using Arduino and ESP8266 offers an affordable, customizable solution for monitoring your premises. This blog will guide you through the process of setting up a DIY camera security system, providing detailed steps and insights into the components and functionality involved.
Components Used
1. Arduino Uno The main microcontroller for processing and controlling the system.
2. ESP8266 Wi-Fi module for connecting the system to the internet.
3. ESP32-CAM Camera module for capturing images and videos.
4. PIR Motion Sensor Detects motion and triggers the camera.
5. Relay Module Controls the power supply to the camera and other components.
6. DC Power Supply Provides power to the system.
7. Connecting Wires and Breadboard For assembling the circuit.
8. MicroSD Card Stores the captured images and videos.
9. Jumper Wires Connect various components to the microcontroller.
System Operation
1. Motion Detection The PIR motion sensor detects any movement within its range.
2. Camera Activation The motion sensor triggers the ESP32-CAM to start capturing images or videos.
3. Data Transmission The captured data is sent to a cloud server or stored locally on a microSD card.
4. Remote Access The ESP8266 module allows you to access the camera feed remotely via the internet.
5. Alerts and Notifications The system can be configured to send real-time alerts and notifications to your smartphone or email.


Key Features
1. Real-Time Monitoring Provides real-time video feed and image capture.
2. Remote Access Access the camera feed from anywhere using a smartphone or computer.
3. Motion Detection Automatically captures images or videos when motion is detected.
4. Data Storage Stores captured data locally on a microSD card or sends it to a cloud server.
5. Customizable Alerts Sends instant alerts and notifications to your smartphone or email.
6. Cost-Effective Affordable components make it a budget-friendly solution.
Benefits
– Enhanced Security Continuous monitoring and real-time alerts improve security.
– Remote Surveillance Monitor your premises from anywhere in the world.
– Easy Installation Simple setup and configuration process.
– Scalable Can be expanded with additional cameras and sensors for larger areas.
– Educational Value Provides hands-on experience with IoT and security systems.
Step-by-Step Guide
1. Component Assembly Connect the PIR motion sensor to the Arduino Uno. Connect the ESP32-CAM to the Arduino, and wire the ESP8266 for internet connectivity.
2. Circuit Connection Assemble the circuit on a breadboard, ensuring all components are correctly connected.
3. Programming the Arduino Write and upload the code to the Arduino Uno to handle motion detection and camera activation.
4. Configuring ESP8266 Set up the ESP8266 module for Wi-Fi connectivity and remote access.
5. Testing and Calibration Test the system to ensure proper motion detection and camera functionality. Calibrate the sensors for optimal performance.
6. Deployment Install the system at your desired location and start monitoring your premises.
Conclusion
A DIY camera security system using Arduino and ESP8266 provides an efficient, cost-effective solution for enhancing security. With features like real-time monitoring, remote access, and motion detection, this system ensures your premises are well-protected. The project also offers valuable learning experiences in IoT and security technologies.