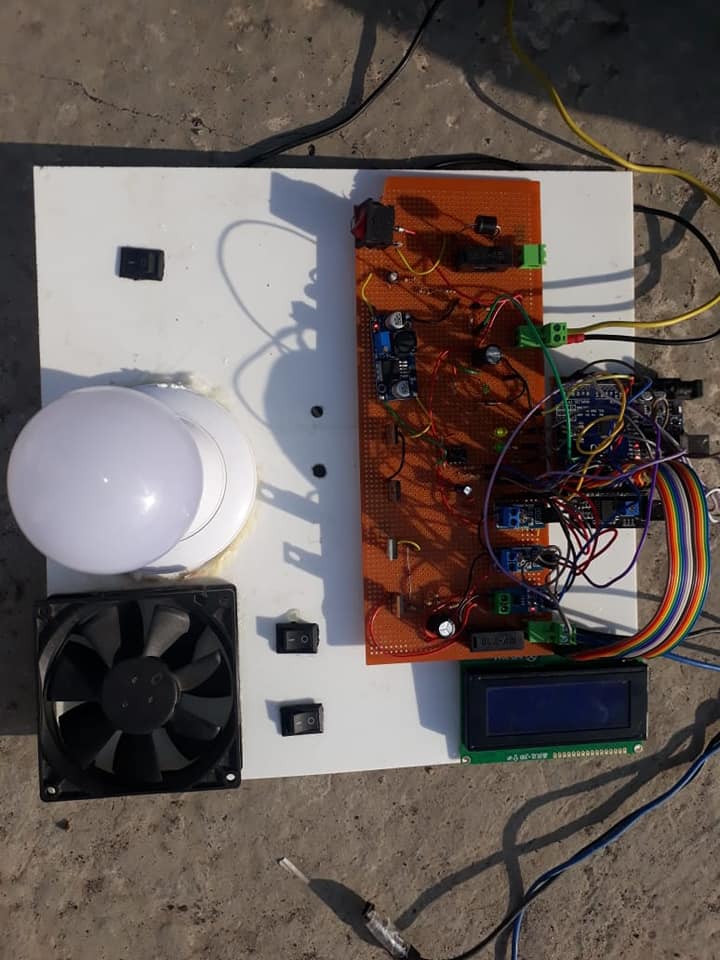
Introduction
Harnessing solar energy efficiently is vital for maximizing its potential. Implementing Maximum Power Point Tracking (MPPT) using Arduino can significantly enhance the performance of solar panels by ensuring they operate at their optimal power point. This blog will guide you through designing and implementing an MPPT system using Arduino, making your solar energy setup more effective and efficient.
Components Used
1. Arduino Uno The primary microcontroller for processing sensor data and controlling the system.
2. Solar Panel The renewable energy source to be optimized.
3. DC-DC Buck Converter Adjusts voltage and current to optimal levels.
4. Current Sensor Measures the current output from the solar panel.
5. Voltage Sensor Measures the voltage output from the solar panel.
6. LCD Display Displays real-time data about the power output and MPPT status.
7. Power MOSFET Controls the power flow through the DC-DC converter.
8. Connecting Wires and Breadboard For assembling the circuit.
9. Diode Prevents backflow of current to the solar panel.
System Operation
Data Collection The voltage and current sensors measure the output from the solar panel.
Power Calculation The Arduino calculates the power output (P = V * I) from the measured voltage and current.
MPPT Algorithm The Arduino runs an MPPT algorithm, such as Perturb and Observe (P&O), to find the maximum power point.
Voltage Adjustment The DC-DC converter adjusts the voltage to ensure the solar panel operates at its maximum power point.

Key Features
1. Optimal Power Utilization Ensures that the solar panel operates at its maximum power point.
2. Real-Time Monitoring Provides real-time data on the performance of the solar panel.
3. Improved Efficiency Significantly increases the efficiency of the solar energy system.
4. User-Friendly Interface The LCD display offers immediate feedback on the system’s performance.
5. Scalability Can be scaled up for larger solar installations or integrated with other renewable energy projects.
Benefits
– Increased Energy Harvesting Maximizes the energy extracted from solar panels.
– Enhanced System Lifespan Operates solar panels under optimal conditions, reducing wear and tear.
– Cost-Effective Utilizes affordable components and open-source software.
– Educational Value Provides a practical understanding of solar energy optimization techniques.
Step-by-Step Guide
1. Component Assembly Connect the solar panel, voltage sensor, and current sensor to the Arduino Uno. Connect the DC-DC converter to the output of the solar panel.
2. Circuit Connection Assemble the circuit on a breadboard, connecting the sensors to the Arduino and the DC-DC converter.
3. Programming the Arduino Write and upload the MPPT algorithm code to the Arduino Uno.
4. Testing and Calibration Test the system to ensure accurate readings from the sensors. Calibrate the MPPT algorithm for optimal performance.
5. Deployment Install the system in your solar energy setup and start monitoring and optimizing the power output.
Conclusion
Implementing an MPPT system using Arduino can significantly enhance the efficiency of your solar energy setup. By continuously monitoring and optimizing the power output, this system ensures that you make the most out of your solar panels. This project not only boosts energy harvesting but also provides a practical understanding of advanced solar energy technologies.