Introduction
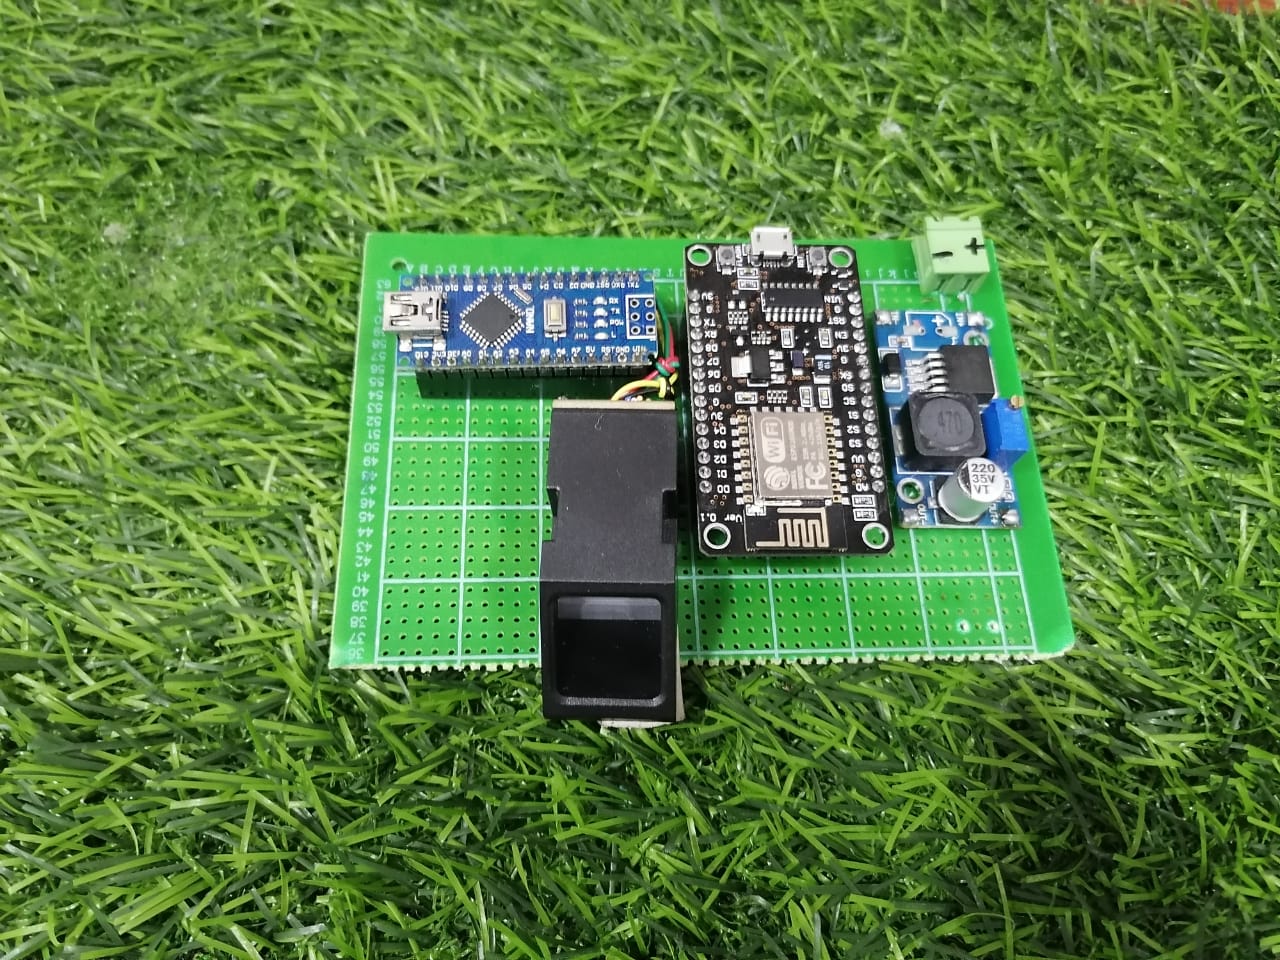
In an era where security is paramount, traditional locks no longer suffice. Smart fingerprint door locks provide an advanced level of security and convenience, ensuring only authorized individuals gain access. This blog post will guide you through designing and building a smart fingerprint door lock using a fingerprint sensor, Arduino Nano, NodeMCU, and a solenoid door lock. This system combines biometric security with IoT capabilities for enhanced control and monitoring.
Components Used
1. Fingerprint Sensor Captures and verifies fingerprints to grant or deny access.
2. Arduino Nano Processes fingerprint data and controls the lock mechanism.
3. NodeMCU (ESP8266 Provides Wi-Fi connectivity for remote monitoring and control.
4. Solenoid Door Lock Physically locks and unlocks the door.
5. Power Supply Powers the Arduino, NodeMCU, and solenoid lock.
6. Relay Module Switches the solenoid lock based on Arduino commands.
7. Connecting Wires and Breadboard For assembling the circuit.
System Operation
1. Fingerprint Enrollment Users’ fingerprints are enrolled and stored in the sensor’s memory.
2. Fingerprint Verification When a fingerprint is presented, the sensor checks it against the stored fingerprints.
3. Access Control If the fingerprint matches, the Arduino activates the relay, unlocking the solenoid lock. If not, access is denied.
4. IoT Integration The NodeMCU sends access logs and system status to a cloud platform, allowing remote monitoring and control via a web interface or mobile app.

Key Features
1. Biometric Security Utilizes unique fingerprints for secure access control.
2. Real-Time Monitoring IoT integration provides real-time updates on access events and system status.
3. Remote Control Enables remote locking/unlocking and monitoring via the internet.
4. User-Friendly Interface Easy enrollment and management of fingerprints.
5. Enhanced Reliability Secure and reliable access control with minimal risk of unauthorized entry.
Benefits
– High Security Fingerprint recognition ensures that only authorized individuals can gain access.
– Convenience Eliminates the need for keys, making access quick and easy.
– Remote Accessibility Monitor and control the lock from anywhere using a connected device.
– Scalability Easily expandable to include more features or integrate with other smart home devices.
Step-by-Step Guide
1. Component Assembly Begin by connecting the fingerprint sensor, relay module, and solenoid lock to the Arduino Nano. Use the NodeMCU for Wi-Fi connectivity.
2. Circuit Connection Ensure all components are properly connected, with the relay controlling the solenoid lock and the fingerprint sensor interfacing with the Arduino Nano.
3. Programming the Arduino Write and upload the code to the Arduino Nano for fingerprint recognition and relay control.
4. IoT Integration Configure the NodeMCU to connect to your Wi-Fi network and communicate with a cloud platform for remote monitoring.
5. Testing and Optimization Test the system to ensure it correctly recognizes fingerprints and controls the lock. Optimize the code and connections as needed.
Conclusion
Creating a smart fingerprint door lock using Arduino Nano, NodeMCU, and a solenoid lock enhances your security system with advanced biometric and IoT capabilities. This project not only provides high security but also offers the convenience of remote monitoring and control. Whether for home or office use, this smart lock system is a valuable upgrade to traditional locking mechanisms.